Preventing Leaks and Damage: A Guide to Shower Waterproofing Techniques
Shower waterproofing is important because water damage can lead to costly repairs and potential health hazards if not appropriately addressed. Without proper waterproofing, water can seep through the grout and tiles, causing mould and mildew to grow and potentially damaging the underlying structures of the shower and bathroom. Waterproofing is especially important for showers installed on wood or other porous surfaces, as these materials are more susceptible to water damage. In short, waterproofing is essential for keeping your bathroom safe, dry, and free from potential health hazards.
Identifying the Problem
When identifying potential shower leaks and damage, it’s essential to check for common signs that indicate a problem. Some of the most common symptoms of shower leaks and damage include:
1. Stains or discolouration on the walls or ceiling: This can signify that water is seeping through the grout or tiles, causing damage to the surrounding walls and ceiling.
2. Peeling or cracked grout or tiles: This can indicate water damage and suggest that the shower is not properly sealed.
3. Musty or damp smell in the bathroom: This can be a sign of mould or mildew growth, which can be caused by water damage.
4. Water damage or mould growth on the surrounding walls or floor: This can be a sign that water is not adequately contained within the shower area.
5. Leakage or pooling: If you notice water pooling outside of the shower area, it could mean that there’s a leak or problem with the drainage system.
How to diagnose the problem
If you notice any of these shower leaks and damage signs, it’s important to diagnose the problem as soon as possible to prevent further damage. To diagnose the problem, you can follow these steps:
1. Inspect the shower area: Take a close look at the shower area and identify any areas of concern. Pay attention to the grout, tiles, and the surrounding walls and floor.
2. Check the drainage system: Ensure the drainage system is functioning correctly and that water is flowing away from the shower area.
3. Test the waterproofing: You can test the shower waterproofing by filling the shower with water and observing if there are any leaks or pooling.
4. Hire a professional: If you need help with the problem or how to fix it, it’s best to hire a professional to diagnose and repair it.
By identifying the problem early and taking the necessary steps to diagnose and repair it, you can prevent further damage and keep your shower safe and dry.
Liquid waterproofing membrane: This technique involves applying a liquid waterproofing membrane, usually made of a rubber or polymer compound, directly to the shower surface. It’s a cost-effective solution that can be used on new and existing showers and can be applied quickly and easily. However, it requires regular maintenance to ensure the membrane remains in good condition.
Sheet-membrane waterproofing: This technique involves installing a waterproof sheet membrane on the shower surface, such as a PVC or HDPE sheet. This is more durable than a liquid waterproofing membrane and can be used on new and existing showers. It’s also relatively easy to install but can be more expensive than a liquid waterproofing membrane.
Tanking: This technique involves applying a waterproof coating, usually made of a cement-based mixture, directly to the shower surface. It’s a cost-effective solution, but it can be more time-consuming and labour-intensive to apply than other techniques. Tanking is also suitable for wet areas, shower rooms, and basements.
Cement-based waterproofing: This technique involves applying a cement-based mixture to the shower surface, which creates a waterproof barrier. It’s a durable option, but it can be more time-consuming and labour-intensive to apply than other techniques. It’s also essential to ensure the surface is clean and dry before applying the mixture.
Each of these waterproofing techniques has its own benefits and drawbacks, and it’s essential to consider the specific needs of your shower when choosing the proper technique. It’s always a good idea to consult a professional to determine the best course of action.
DIY Shower Waterproofing vs Hiring a Professional
When waterproofing your shower, you have two options: either take on the task yourself as a DIY project or hire a professional. Both options have advantages and disadvantages, and it’s essential to consider these factors when deciding.
DIY shower waterproofing
Advantages:
- Cost-effective: DIY shower waterproofing can save you money on labour costs.
- Flexibility: You can do the work at your own pace and schedule.
Disadvantages:
- Lack of expertise: You need to gain the experience or knowledge to waterproof your shower correctly to avoid causing more damage than good.
- Lack of proper tools and materials: Professional waterproofing requires specialized tools and materials that may be difficult or expensive for a DIYer to acquire.
- Time-consuming: Waterproofing a shower can be a time-consuming and labour-intensive process.
Advantages of hiring a professional
- Expertise: A professional shower waterproofing Brisbane contractor has the experience and knowledge to correctly assess and waterproof your shower.
- Proper tools and materials: They have the tools and materials necessary to complete the job correctly.
- Time-efficient: Professional waterproofing contractors can complete the job quickly and efficiently.
- Guarantees and warranties: Many professional waterproofing contractors offer guarantees and warranties on their work, which can provide peace of mind.
In summary, DIY shower waterproofing can be a cost-effective option, but it can also come with some risks. If you need help with waterproofing your shower correctly or notice signs of severe damage or structural issues, it’s best to hire a professional. A professional contractor will have the expertise, tools, and materials necessary to ensure that your shower is waterproofed correctly and safe for use.…


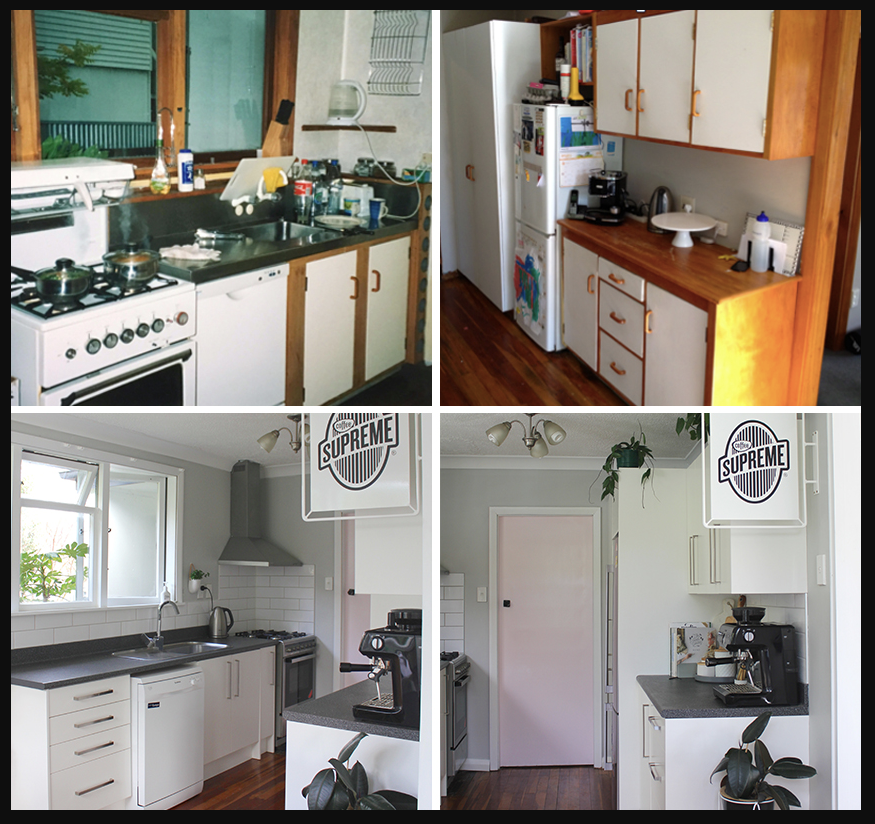
 Remodelling Companies
 Hiring A Kitchen Designer